Why you Need a Commercial Roof Maintenance Plan
Extend the Life of Your Roof System Commercial roofs are often exposed to harsh weather conditions and need regular maintenance … Read More →
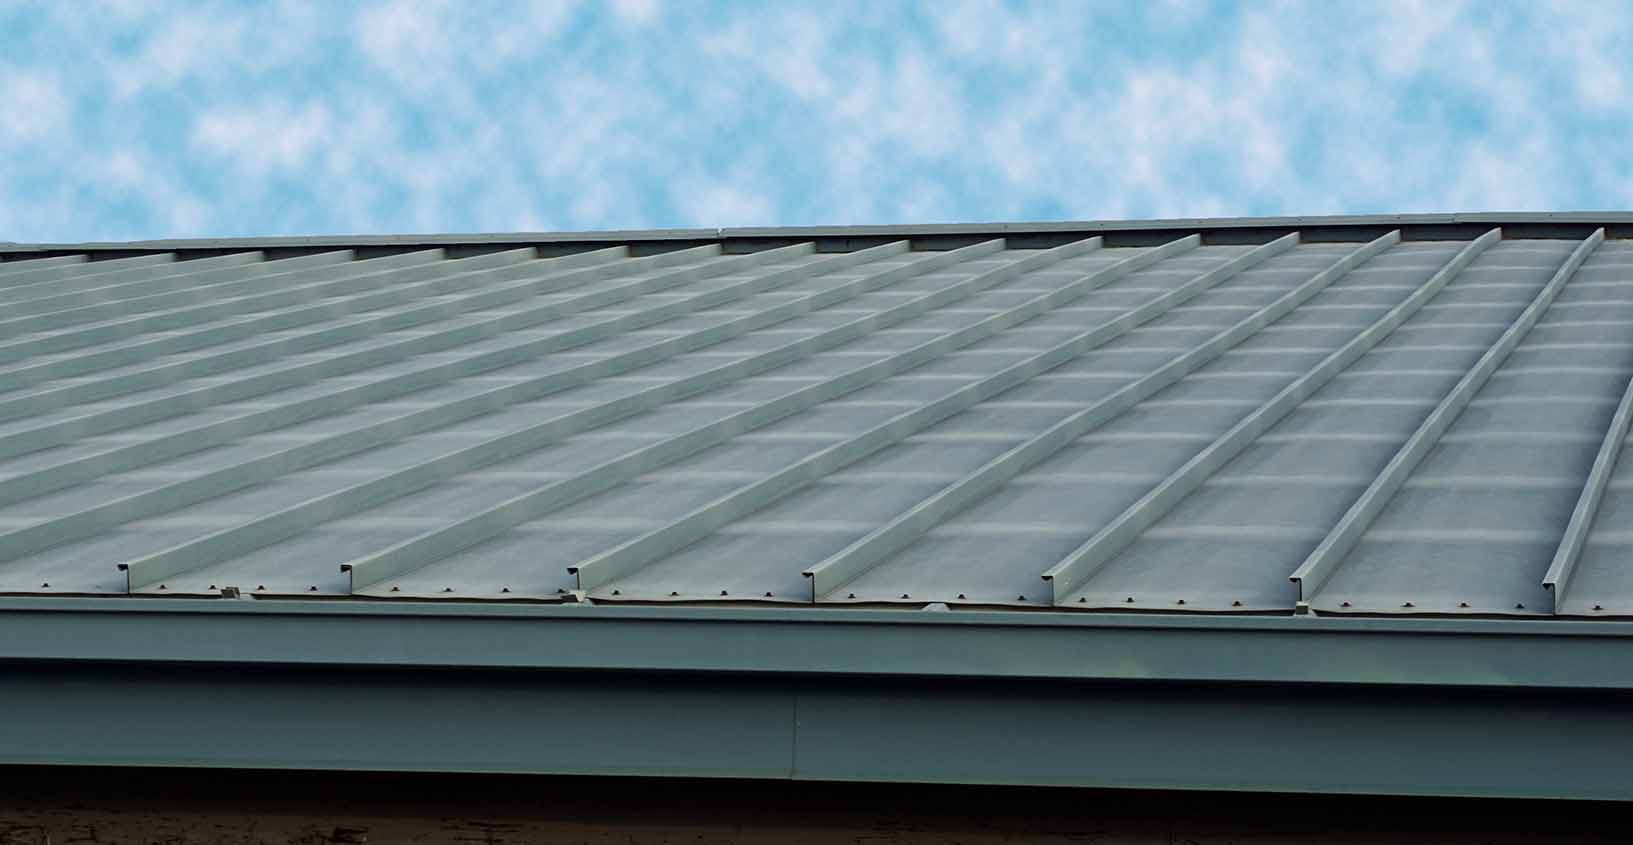
If your existing roof has seen better days, you’ll probably be exploring your options. Of course, you know that replacing it is the best course of action, and you may be considering metal. But what should you know before installing a metal roof, and what should you do with your existing roof?
Many people choose metal roofs when it comes time to replace, as they represent a practical, eco-friendly, durable option. They can last for as long as 40 to 70 years, but commonly 50 years when properly installed and should outlast any single-ply or asphalt shingle roofs.
In addition, they’re fire retardant and energy-efficient, so they can keep your home warmer in winter and cool in summer due to their reflective properties. Metal roofing panels are also a lot lighter, so they are likely to put less strain on your building frame.
No matter the type of metal roof you choose – our metal roofing products are the highest quality material on the market and our work is backed by decades of service in the industry.
Before you proceed with this job, you will need to order your metal roofing materials. First, you need to take dimensions by measuring the rake (the line taken from the eaves to the top ridge) and then another measurement from eave to eave.
This will allow you to calculate the square footage so that you can order accordingly. Remember to consider any features such as chimney stack, skylight, or roof-mounted A/C unit.
If you have an existing shingle roof, you need to tear it off, and experts typically use a specially designed “shovel” device with a fulcrum and serrated teeth. You will need to have a plan to make this job as efficient as possible but remember, it’s very labor-intensive. Also, don’t forget to check local building codes, as you may well need to get permission before the job can commence.
You should work downward from the top of the roof and remove each shingle with the shovel. Don’t forget to remove any fasteners and underlay; you should have a dumpster on hand beneath to dump everything into. You may also need to consult your local authority to see where you should take the leftovers and if there are any requirements in place for shingle disposal.
As this work continues, it’s important to inspect the structure and ensure that there is no water infiltration or existing damage that the asphalt shingles may have hidden. Inspect the roof -start with the frame and ensure it is still in good condition so that it can accept the new metal roof.
If everything looks sound, the installation of the metal roof can continue.
As you can see, a great deal of work is involved in installing metal roofs. If this seems too labor intensive, dangerous, or technical, it is best that you bring in the experts to do the job for you. Our team of experts is standing by to make your metal roof replacement job simple and quick so you can worry about other things.
JET is renowned for its top-class service, and the company always delivers projects on time. So, if you’re in the northeast Georgia area, reach out for a free estimate and evaluation.
Extend the Life of Your Roof System Commercial roofs are often exposed to harsh weather conditions and need regular maintenance … Read More →
It’s Important to Clean Your Gutters Regularly Gutters play an important role in protecting your home from water damage. They … Read More →
Choose The Right Material, Color, And Style For Your Home No one ever said that choosing the right type of … Read More →